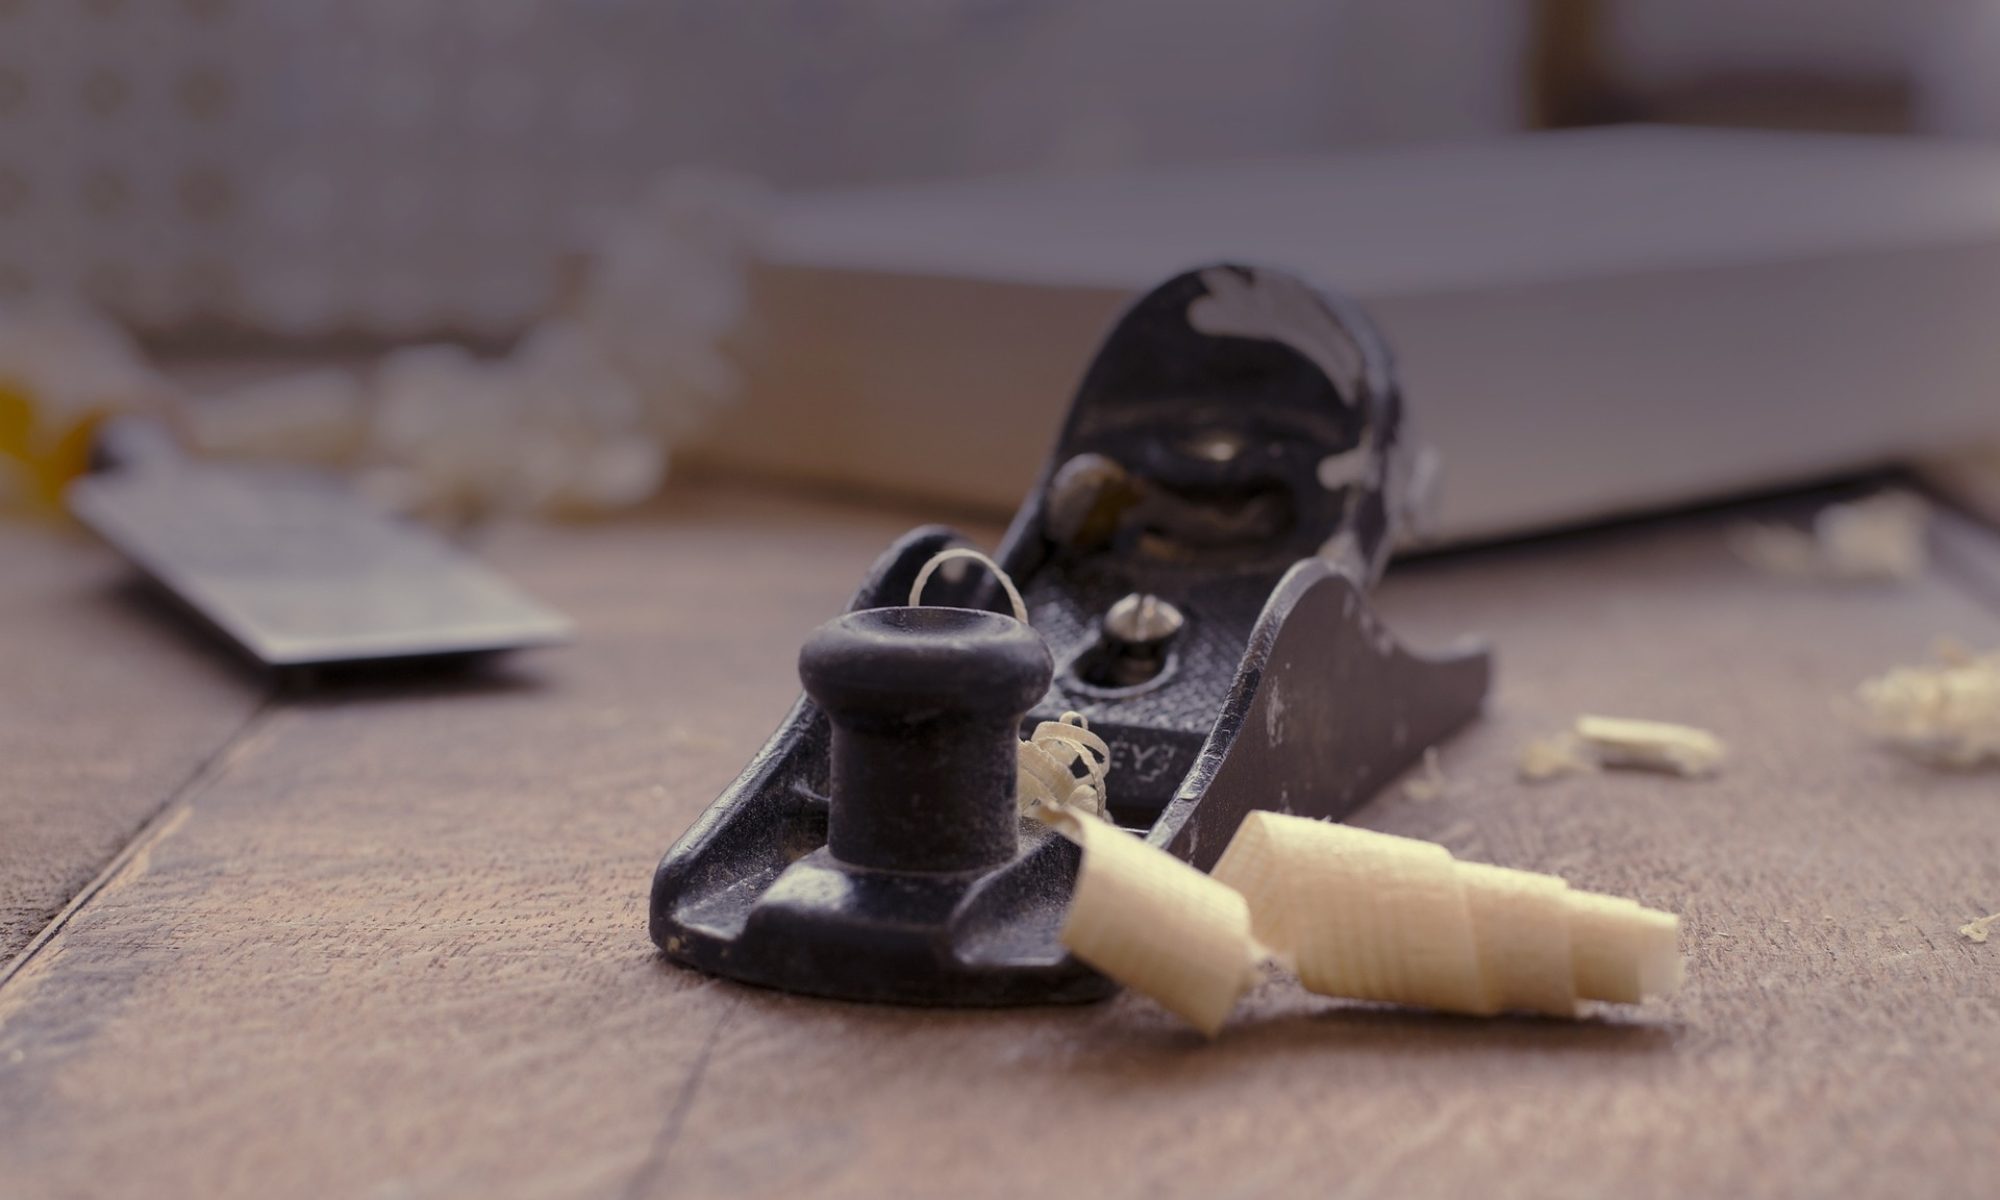

Recently I have been working on a prototype for a new workshop that Roy Underhill and I are going to offer at the Woodwright’s School. This project is a standing desk, with an open leg framework below with four stretchers for support. These stretcher mortises are narrow and deep, and for maximal support are chopped to within ¼” of the leg stock dimension depth (1 ½”).
When chopping close to the full depth, it is quite easy to actually chop completely through the leg material. I know this because I have done it before. Somewhat embarrassing. A good approach is to chop close with a mortise chisel, then horizontally pare the bottoms of the mortises down progressively with a gooseneck chisel.

The function of a gooseneck is to get down into a mortise, referencing against the curve of the chisel neck, and use the cutting edge to scoop material from the middle of the mortise to one corner, and then repeat from the other direction. If the chisel curve is dramatic enough and low enough on the chisel shaft, then top of the mortise is not damaged by the levering action. In this manner, you can get a defined bottom. In the case of the Standing Desk, the gooseneck would allow me to pare as deep as I want, without the likelihood of breaking through (Figure 1). Note for some mortises, this is action is important, particularly fox mortises. The two wedges in that joint actually slide a bit across the bottom as the tenon is driven in. If the bottom is rough and the wedges catch there, the wedge can break and interfere with the seating of the joint.

In Figure 2, I show three variations on goosenecks. The one on the left is a commercial one, ¼” shaft. The middle one is apparently a user made chisel, 5/16” wide. The one of the right is a chisel that I designed, and which Peter Ross forged for me, also 5/16” wide (at the cutting edge). The issues to look at with these three chisels are (1) the degree of curvature of the gooseneck, (2) the location of the maximum bulge of the curve from the cutting edge, and (3) the bevel of the cutting edge.
The commercial chisel on the left is ¼” wide, and the shaft is the same width up to the tang. In addition, the curve of the neck is very high up on the shaft (over 1 ½”), so that the mortise would already have to be fairly deep for the chisel to be effective. In addition, the cutting edge is practically 90 degrees when the chisel is resting on the bottom of the mortise. This bevel angle is more conducive to a scraping action rather than a cutting action. Lastly, the manufacturer only offers ¼” and 3/8” wide chisels, whereas 5/16” width is optimal for ¾” thick stock of the same material (“more than a third, less than a half the thickness of the stock”). (Note that in the Standing Desk, the stretcher stock is 1” wide, the leg stock is 1 ½” square, but all of the other mortises in the desk carcase are 5/16” wide, so I elected this to be that dimension as well).
The user made chisel in the middle is 5/16” wide at the cutting edge, narrower a bit on the shaft for clearance, and has a sharp bevel angle at the cutting edge (bevel facing up). The bevel is sharp enough to give a good cutting action. While the location of the curve is optimally low on the shank, the degree of curvature of the gooseneck is very slight. When the apex of this curve rests in a narrow, deep mortise, there is not enough clearance to keep from levering against the top of the mortise.
The chisel on the right has a ¼” shaft, which flares out to a 5/16” cutting edge, to lessen the binding in the mortise. The curve of the gooseneck is about ¾” up from the cutting edge, and the curve is dramatic enough that the mortise shoulder is not impacted. In addition, the cutting edge is about 30 degree bevel (bevel up configuration), optimal for shaving off layers of the mortise bottom. I turned the handle for this tool, set a ferrule, and then burned a seating for the chisel tang into the end.

Generally speaking, you never want to have to pick up two different tools to do one job. Much better to accomplish the complete job with one tool. Sometimes this is not optimal, and there is where the gooseneck comes into its own. For longer, shallower mortises, it is sufficient to rest the mortise chisel itself against the rough mortise shoulder and scoop across the width. The angle with the chisel is good for this (Figure 3). For deeper, narrower mortises, you just can’t get the side action needed. Since the mortise chisel is being used bevel down, it acts more like a scraper than a cutter ion this instance.